Showing posts with label Reviews. Show all posts

Sunday, February 8, 2009

Week 6 for the AeroGraden

Its been 6 weeks since I have last posted an update about my new AeroGarden or even to the blog...

Since last post, I finally found a job, and I decided to go by to school for a degree in multimedia design, and other items that I prefer not to mention.

As for the AeroGarden, I love it. The only issues I have with the system is the loud air pump, and sometimes the light timer schedule changes. Orginally I set to come on at 8 AM, then it changes to 10 AM about 2 weeks. Then a week later the timer changed to 12P. Not sure why this happened. And no my power never went out.

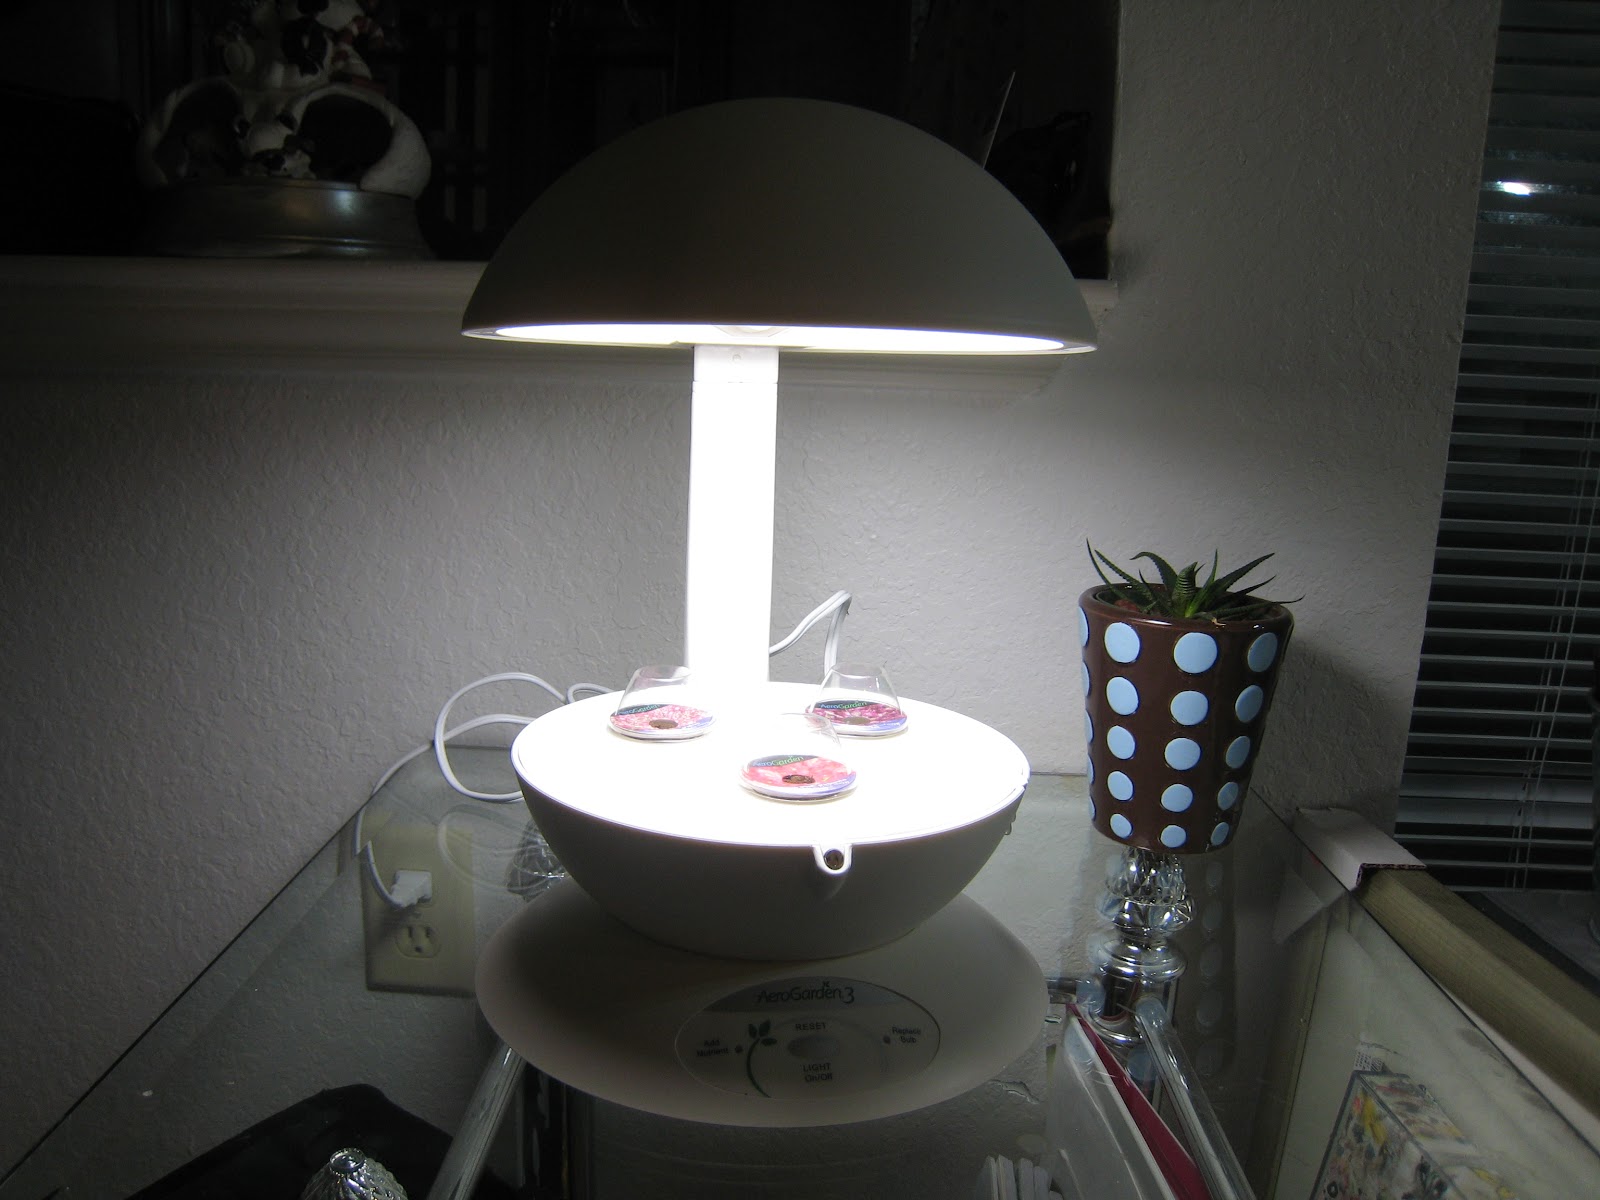
The pictures below show the progress of the plants.


2 weeks


6 Weeks


Join Green Thumb Sunday
Join

Sunday, December 28, 2008

New Garden Toy for Christmas!

Late last night we got back into town, my wife and I spent the week in Wesson Mississippi and Northport Alabama visiting my relatives. After we got unpacked and visited with friends from out of town, it was to late for us to open our gifts from each other and gifts from her in-laws.

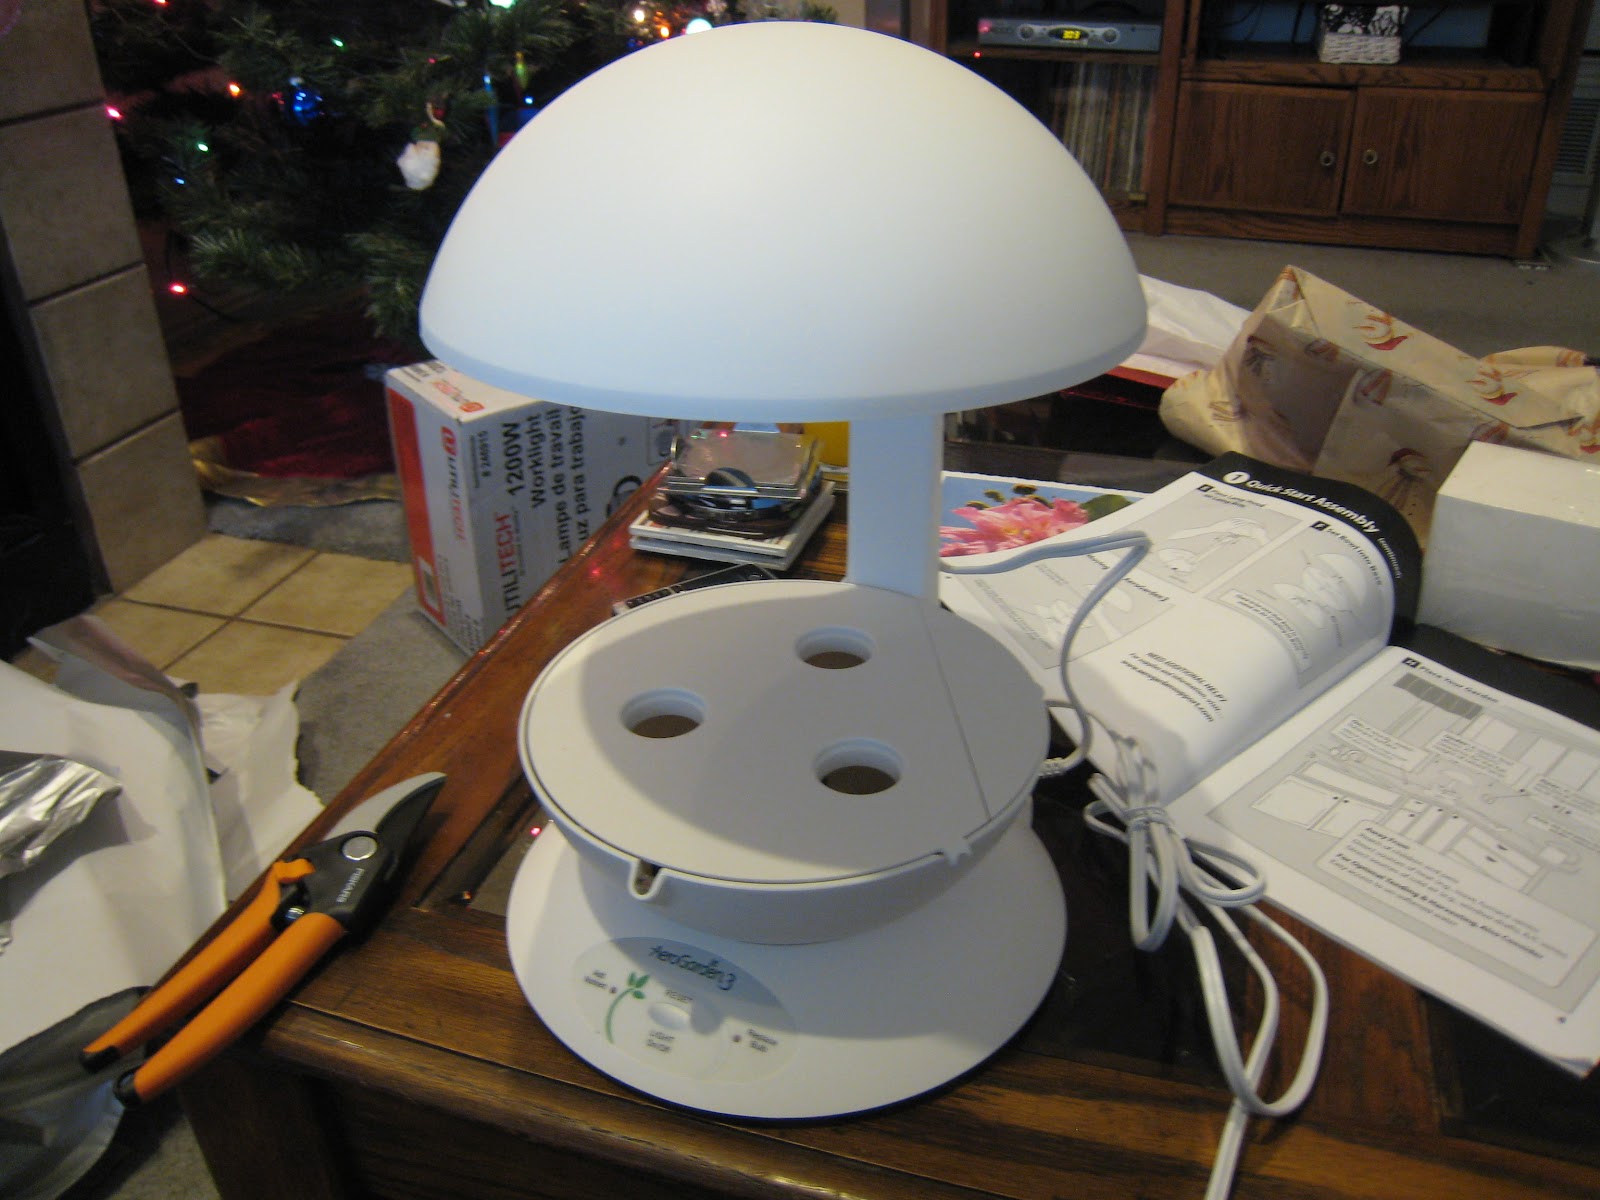
One of my gifts from one of the cousins got me an AeroGarden3! I put its together and so far I love it. I have been interested in these little guys for quite some time. If this smaller one works out as well I hope it does, I will spend the money on several other models I have had my eyes.

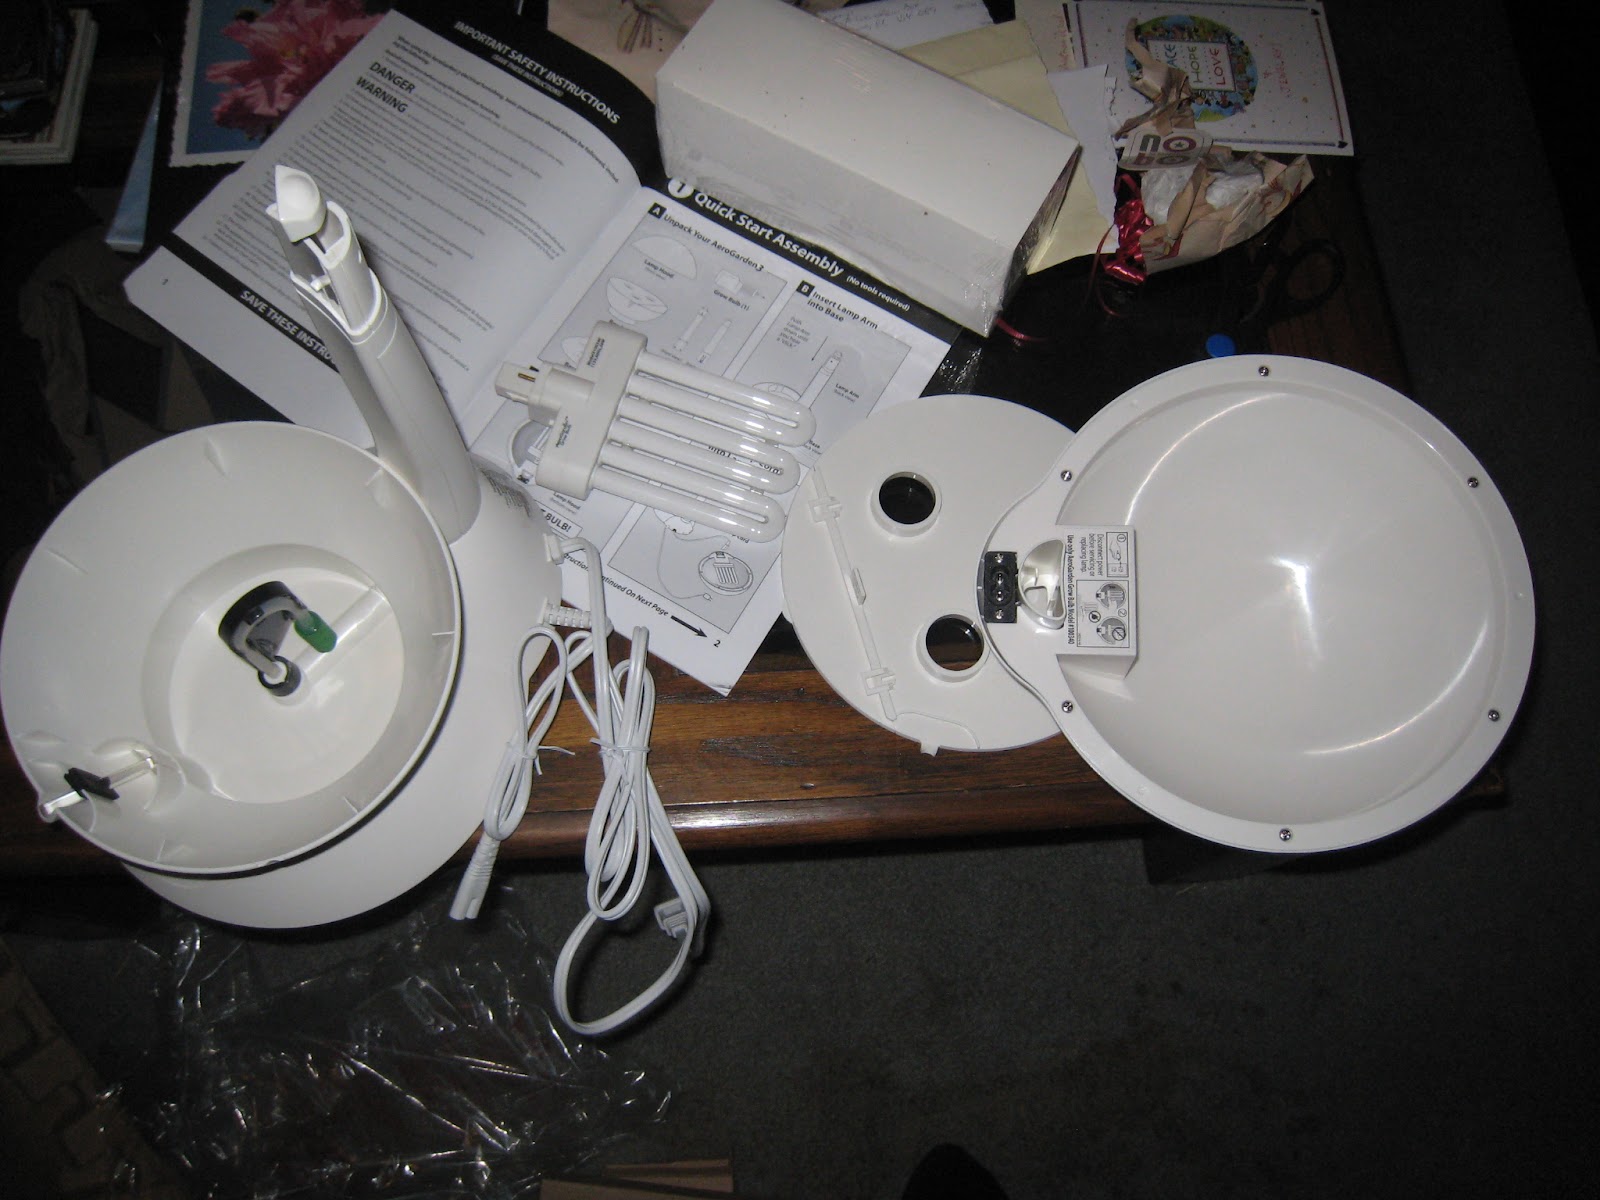
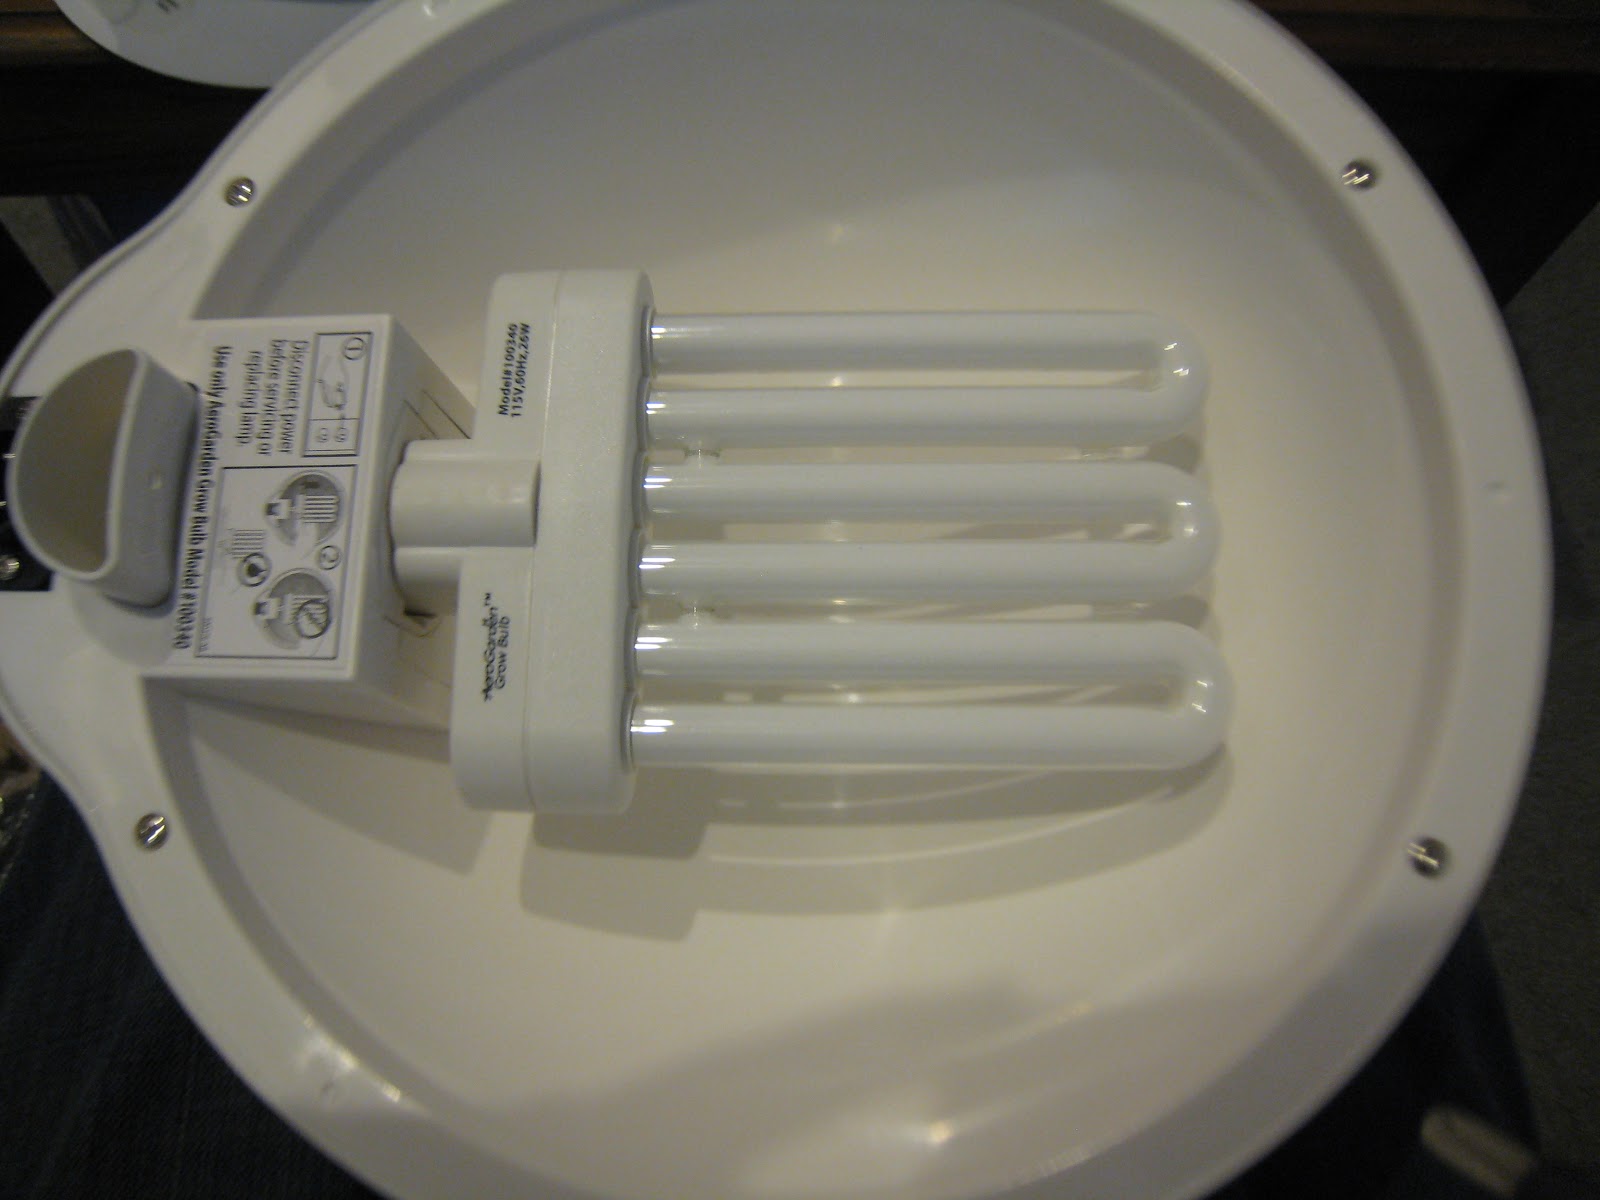
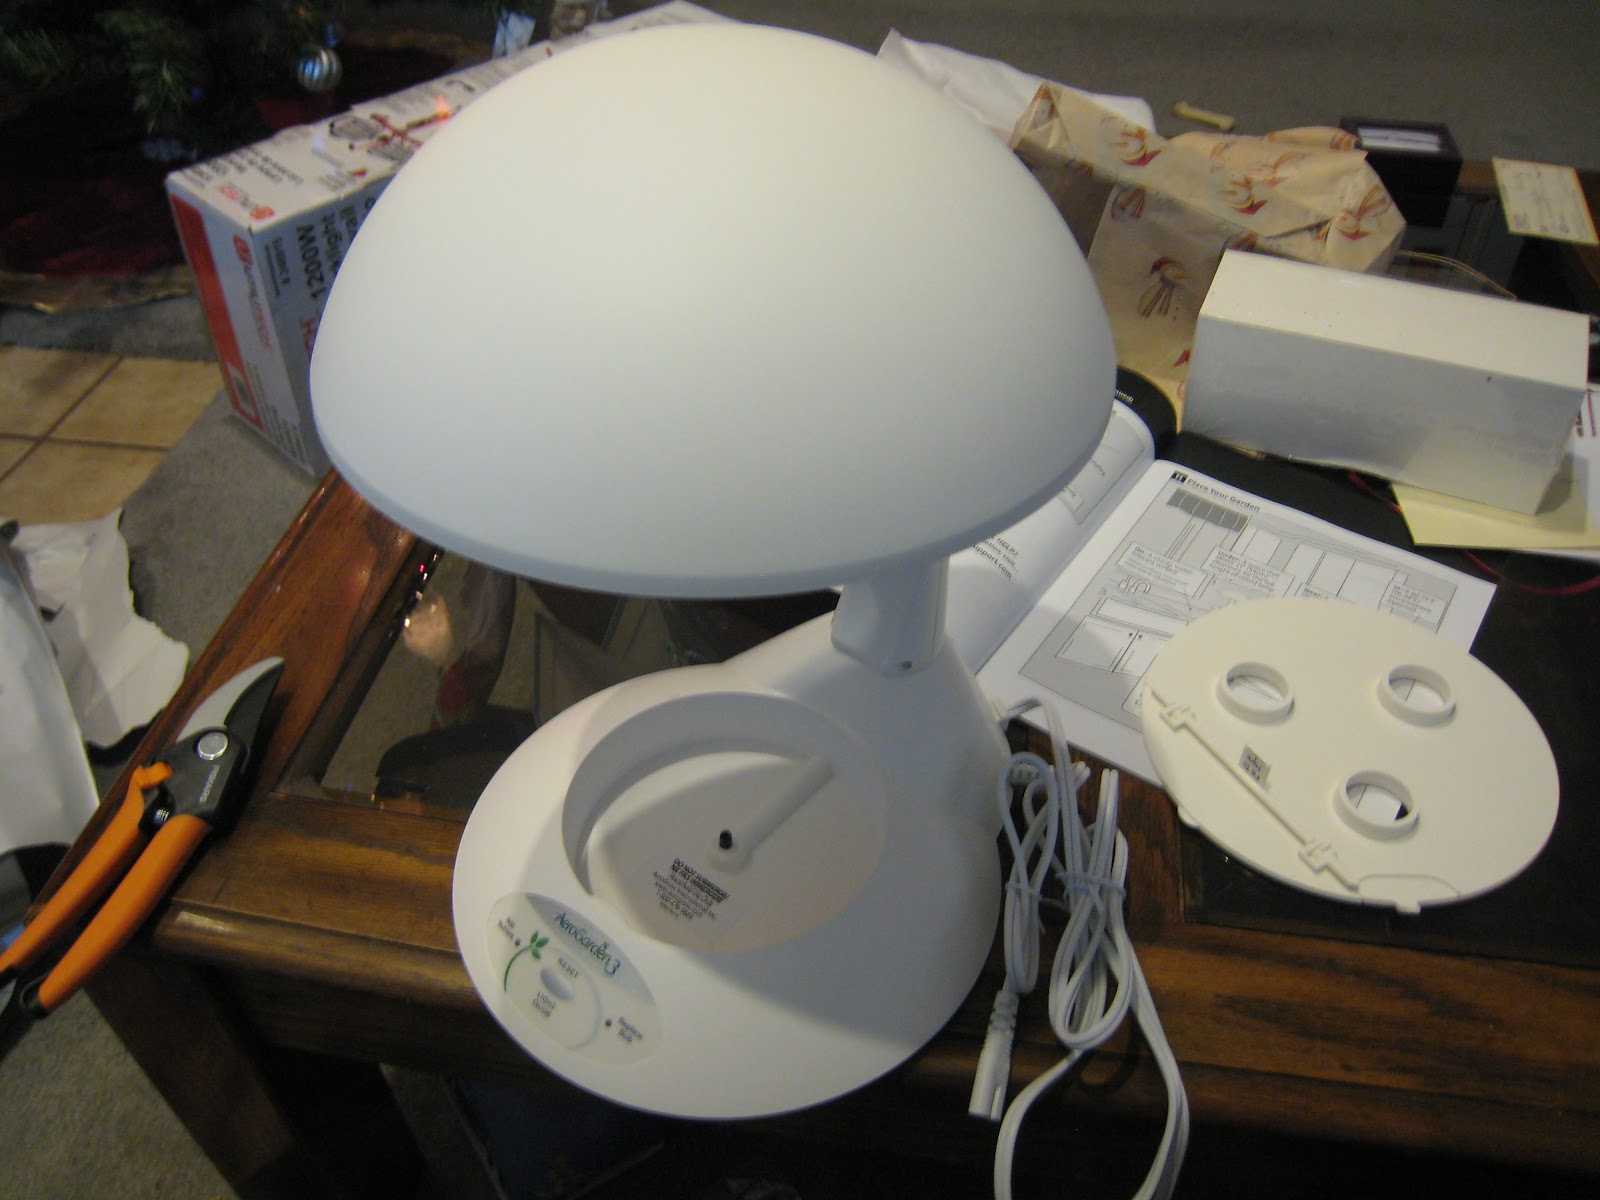
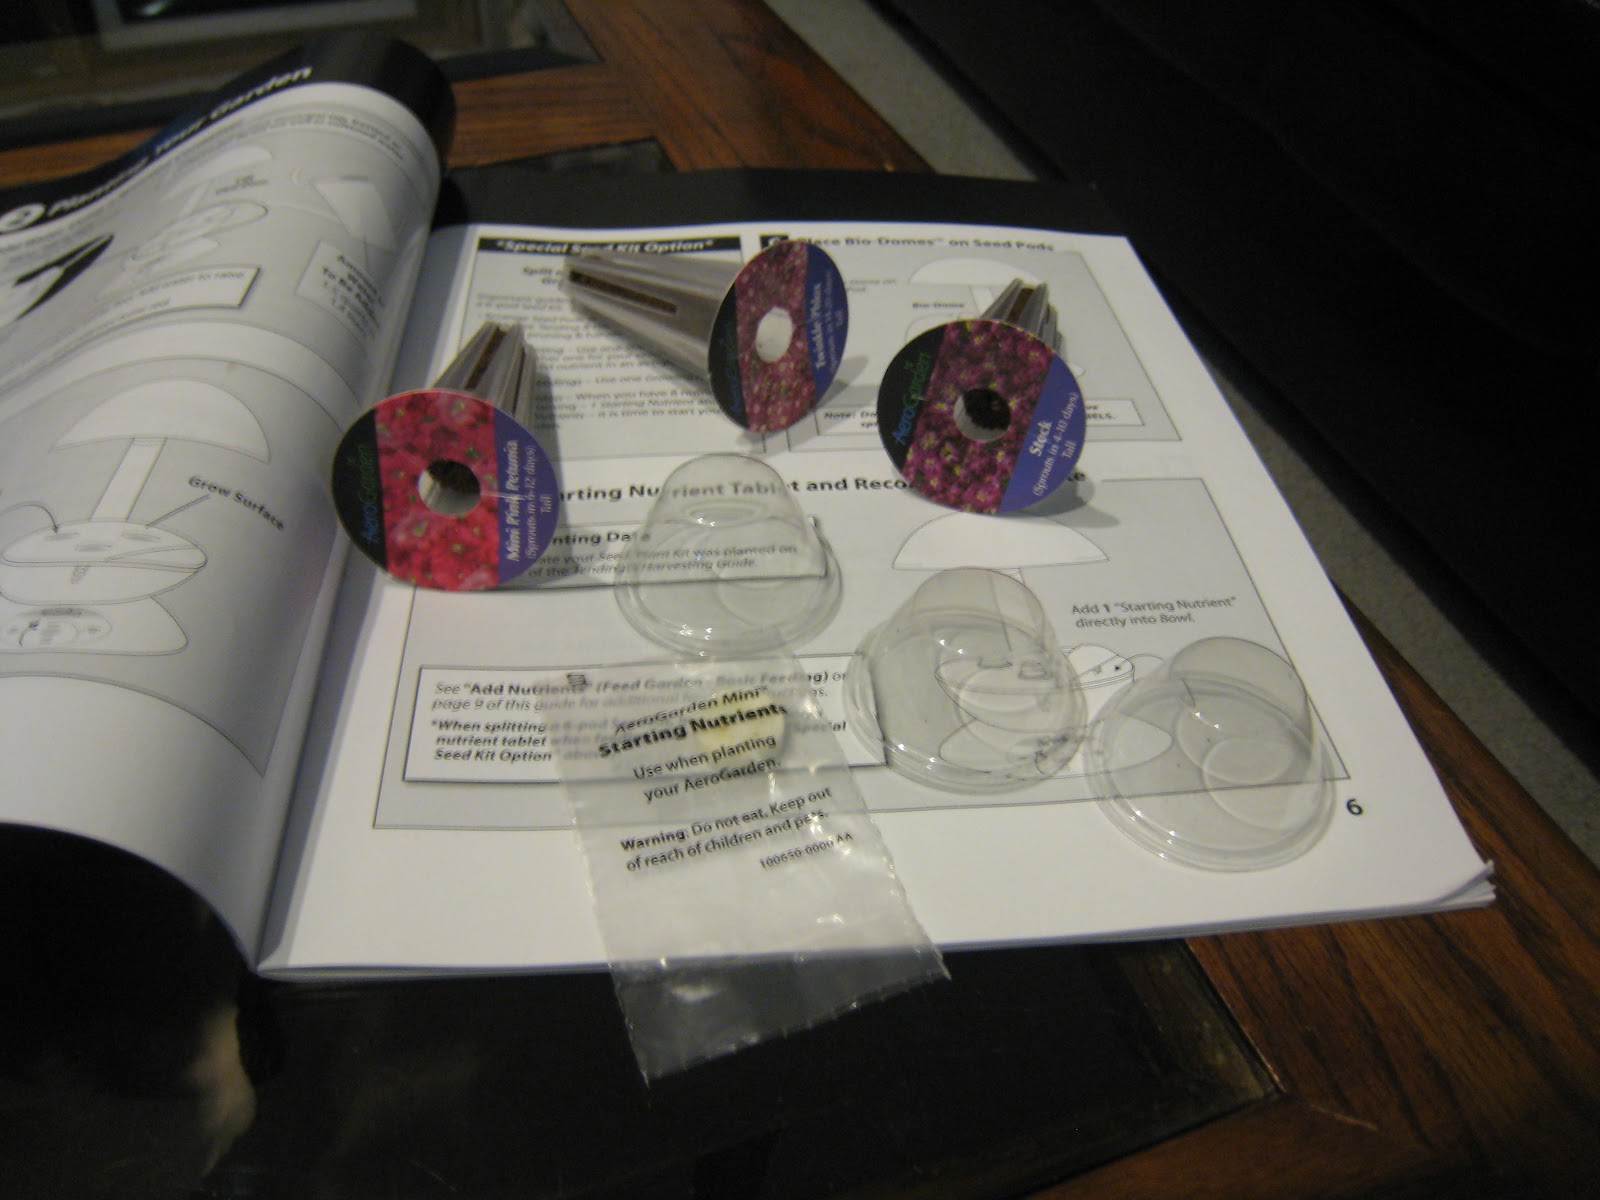
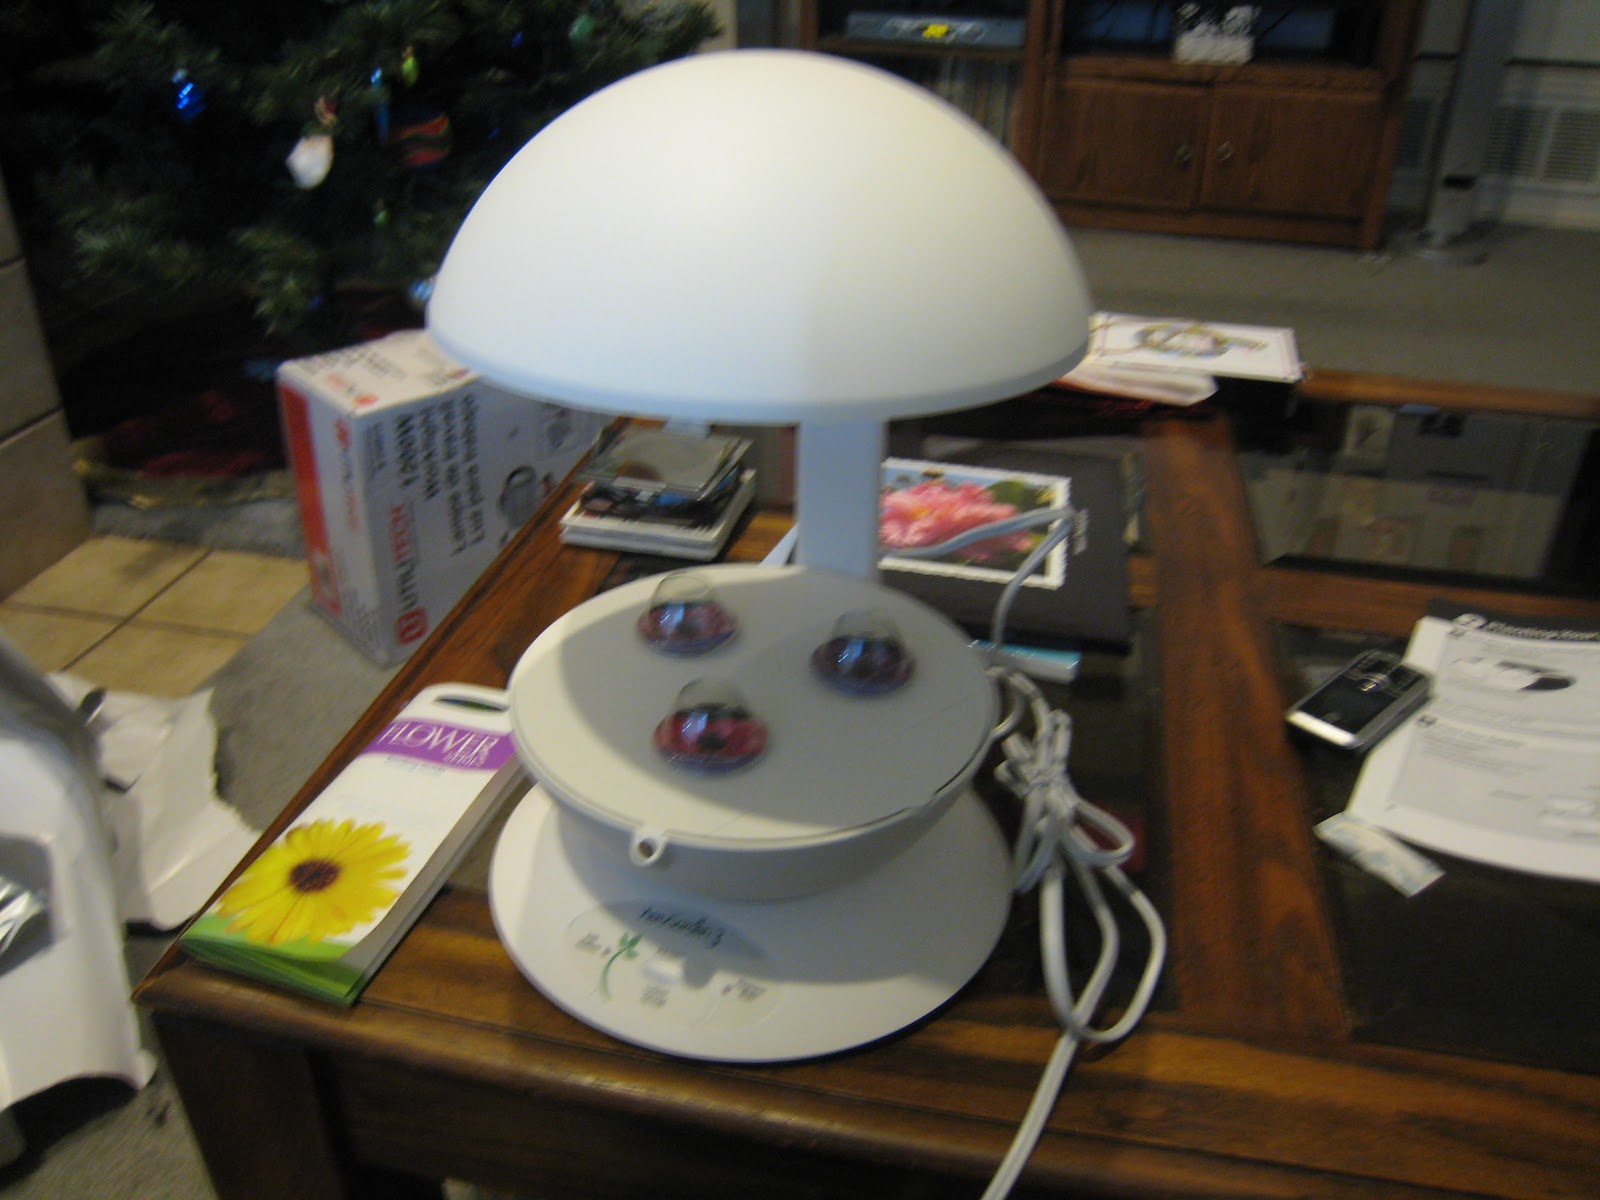
I put together the AeroGarden3 in less than 30 minutes. It took me longer to figure out where to put it than to assemble it. The first step is to assemble the arm for the light to the base and install the light bulb. Once the that is complete you then attach the base and grow surface to the system. After the system is setup, you will then add the grow seed pods, seed starting formula tablet, and water. Then plug the system in. The light source will run for 17 hours and be in the dark for 7 hours.

So far, the only thing, I do not like about will live with is the water pump can be loud if you are in a quiet room, you will hear it. But more to come on that later on.

As time goes on, I will report my findings. Below you will find pictures of the assembly process and the completed unit.


Join Green Thumb Sunday
Join

Tuesday, October 14, 2008

Japanese Tea Gardens In San Antonio

Last weekend my wife and I spent the weekend in San Antonio, TX for her 5 year reunion at Trinity University. Between alumni events, my wife and I were able to sneak away and spend a few hours at the Japanese Tea Garden right across the highway from the university.

Currently, the gardens are being renovated, and you can see how hard they are working at keeping and making this a wonderful place to visit. Of course we chose a time of year when most of the flowers were
 already spent but it was still very beautiful and I will planning to visit next spring, if we have the time. My favorite part of the garden is all the hardscaping and the way the park is sunken into an hold rock quarry.

History: A complete history can be found at Japanes Tea Garden History.

In 1881 the San Antonio Water Works Company, through its president, George W. Brackenridge, donated 199 acres to the City of San Antonio to be used as public park. In 1901 the park was officially opened and today still holds the name of Brackenridge park. At this time their was a working operating rock quarry west of the park on land owned by the City of San Antonio. The stone cutters had been leasing this land since the mid 1800s. Then in 1908 Quarry company closed down the site after it needed to bring in rail lines to expand the project. Instead they purchased a new site. 

In 1915, another 11 acres were donated, the land immediately adjacent to the abandoned quarry for a city park.  City Parks Commissioner, Ray Lambert came up with the idea of a lily pond would later became the Japanese Tea Garden.  From July 1917 and May 1918, the City used prison labor to turn the quarry into complex that had walkways, stone arches bridges, an island, a Japanese pagoda. Local residents donated bulbs, exotic plants were donated by local nurseries, and the roof used palm leaves from the palm trees in the city parks. Ray Lambert only spent 7,000 to create his ideas 


Over the years, the park made changes to the design and improvements were made. Currently this is what the park looks like as of October 10th, 2008.


Monday, July 28, 2008

Got A New Composting Bin Today

Sunday afternoon we were out looking for some lawn furniture and we stopped by WalMart to check and see what they had left. Since its almost the end of the season, Walmart had dropped the prices on most of the items in the garden section. By the register they had an end cap display for the Super Composter for only $45! Walmart's and Sams both had these composters for 80+ through out most of the season.


After looking the display model over, I decided it was worth a try and it is a lot nicer than my are.


The composter is packaged in shrink rap and the instructions are pictures only on the back of the label. So do not damage the label while opening. The first step was to seperate the parts and make sure I had all the parts. Next I put the for sides together. Next add the corner brackets. Followed by installing the door and hinges. Putting this together will take about 30 minutes or less to put together. It is poorly designed and I would love to able to have screwed/nailed something together. The composter is injected molded thick durable plastic. But the sides do not line up well and the looking tabs will lock completely. The lid is durable and has sturdy spring loaded hinges. Once the composter was in place it looked real good.


Today I added a large bag of fresh grass clipping, shredding paper, coffee grounds/filter, bone meal, blood meal, and alfalfa pellets and mixed in. It is to early to recommend this item. I will see if this composts faster than my homemade units.


I will keep everyone up to date on my findings.

Saturday, July 12, 2008

Tyler Rose Garden May 17th 2008

I finally found a way to post slideshow /gallery using flickr and blogger. Its called PictoBrowser Builder. All you have to do is put your username in the fields and pick what album you want to use, set your theme, and cut and paste the code to your blog . Anyways I finally got around to working on my pictures from this weekend. I found that my camera malfunctioned and most of the pictures did not come out. I believe it was a combination of the hot weather, bright sunlight, and a lot of operator's error! I At least have some of my favorites came out. I will be going back for Rose fest in October.

Tyler Rose Garden is huge! We walked out on the entrance from the balcony and we were amazed at the size and where to start. Once we got started we found a lot of the rose were already spent. Their rose beds needed to have all the spent roses cut back and it looked as if the roses were burnt and needed more water. We went from bed to bed taking pictures and taking notes for our future rose gardens we are planing. When we finished up with the rose gardens we took some time and hung out in the shade of the Meditation Gardens and shade gardens.

I spoke with some of the locals and they said we came about a month early. They did mention that the garden will be out of the growing season and will be blooming by the time Rose Fest starts!I promise better pictures and better review.